Introduction
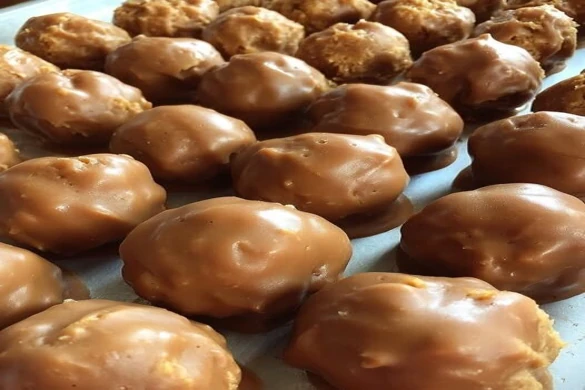
Butterfinger Balls Recipe is the ultimate no-bake treat for candy lovers, combining crushed Butterfinger candy bars, creamy peanut butter, and a smooth chocolate coating that melts in your mouth. That’s where these Butterfinger Balls come in. I first stumbled on them during a holiday cookie exchange—tucked away between sugar cookies and fudge squares sat these glossy chocolate-coated gems. One bite, and I was hooked.
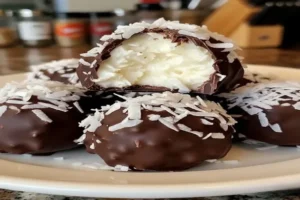
Imagine the nostalgic crunch of Butterfinger candy bars, mixed with creamy peanut butter and powdered sugar, all rolled into bite-sized balls. Then, as if that wasn’t enough, they’re dipped in silky, melted chocolate. The result? A decadent, no-bake candy treat that’s equal parts chewy, crunchy, and creamy.
If you love fun desserts like this, you’ll probably also enjoy my Garlic Parmesan Cheeseburger Bombs—a savory surprise that’s just as addictive in a different way.
ADVERTISEMENT
Ingredients for Butterfinger Balls Recipe
For the Centers
-
1 cup crushed Butterfinger candy bars (about 2–3 bars)
-
1 cup creamy peanut butter
-
½ cup powdered sugar
-
1–2 tablespoons milk (adjust for consistency)
For the Chocolate Coating
-
1 bag (12 oz) semi-sweet chocolate chips
-
1 tablespoon shortening (or coconut oil for extra shine)
Directions for Butterfinger Balls Recipe
Step 1: Crush the Butterfingers
Place your Butterfinger candy bars in a resealable plastic bag. Use a rolling pin to crush them into a mix of fine crumbs and small chunks.
Step 2: Mix the Centers
In a large mixing bowl, stir together crushed Butterfingers, peanut butter, powdered sugar, and milk until the mixture holds together. If too dry, add a touch more milk.
ADVERTISEMENT
Step 3: Shape the Balls
Form into 1-inch bite-sized balls using your hands or a cookie scoop. Place them on a wax paper–lined tray and refrigerate for 30 minutes to firm up.
ADVERTISEMENT
Step 4: Melt the Chocolate
In a microwave-safe bowl, melt the chocolate chips with shortening (or coconut oil) in 30-second bursts, stirring until smooth.
Step 5: Dip & Coat
Dip the chilled balls into the melted chocolate, coating fully. Use a fork to lift and shake off excess before placing them back on the tray.
Step 6: Chill & Serve
Refrigerate for 15–20 minutes until the chocolate sets. Enjoy immediately, or store in the fridge for up to a week.
Tips & Variations for Butterfinger Balls Recipe
-
Extra Crunchy: Roll the coated balls in crushed peanuts before the chocolate sets.
-
Festive Touch: Top with holiday sprinkles for Christmas or Easter gatherings.
-
White Chocolate Swap: Use melted white chocolate for a different look and flavor.
-
Mix & Match: Try with crushed Reese’s or KitKats for a candy bar twist.
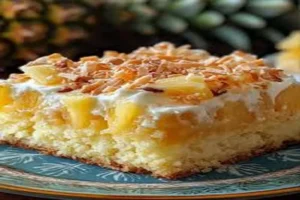
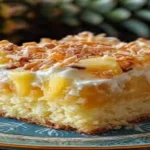
For another easy sweet treat, check out these Pineapple Juice Cake bars—a tropical-inspired dessert that’s just as simple and satisfying.
ADVERTISEMENT
Storage for Butterfinger Balls Recipe
-
Room Temperature: Keep in a cool, dry place up to 2 days.
-
Refrigerator: Store in an airtight container for up to 1 week.
-
Freezer: Freeze up to 2 months; thaw in the fridge before serving.
Time & Yield
-
Prep Time: 25 minutes
-
Cook Time: 0 minutes (no-bake)
-
Chill Time: 45 minutes
-
Total Time: 1 hour 10 minutes
-
Yield: About 24 balls
Tools Used
-
Mixing bowls
-
Rolling pin
-
Wax paper or parchment
-
Cookie scoop (optional)
-
Microwave-safe bowl
FAQ
Q1: Can I make these ahead of time?
Yes! They store beautifully in the fridge or freezer, making them perfect for parties or gifting.
Q2: Do I need shortening for the coating?
Not strictly. Shortening (or coconut oil) just helps the chocolate look shinier and smoother.
ADVERTISEMENT
Final Thoughts: Butterfinger Balls Recipe
These Butterfinger Balls Recipe are one of those no-bake recipes that deliver maximum flavor with minimal effort. Crunchy, creamy, and coated in rich chocolate, they’re the perfect bite-sized indulgence for candy lovers. Whether you make them for a party, holiday cookie tray, or just a late-night treat, they’ll disappear faster than you think.
If you’re hungry for more no-bake inspiration, don’t miss Delish’s roundup of no-bake desserts—packed with treats just as fun and easy as this one.