ADVERTISEMENT
Introduction
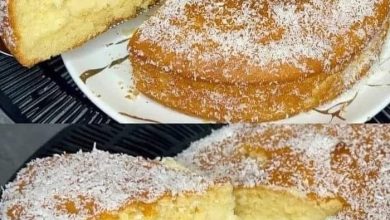
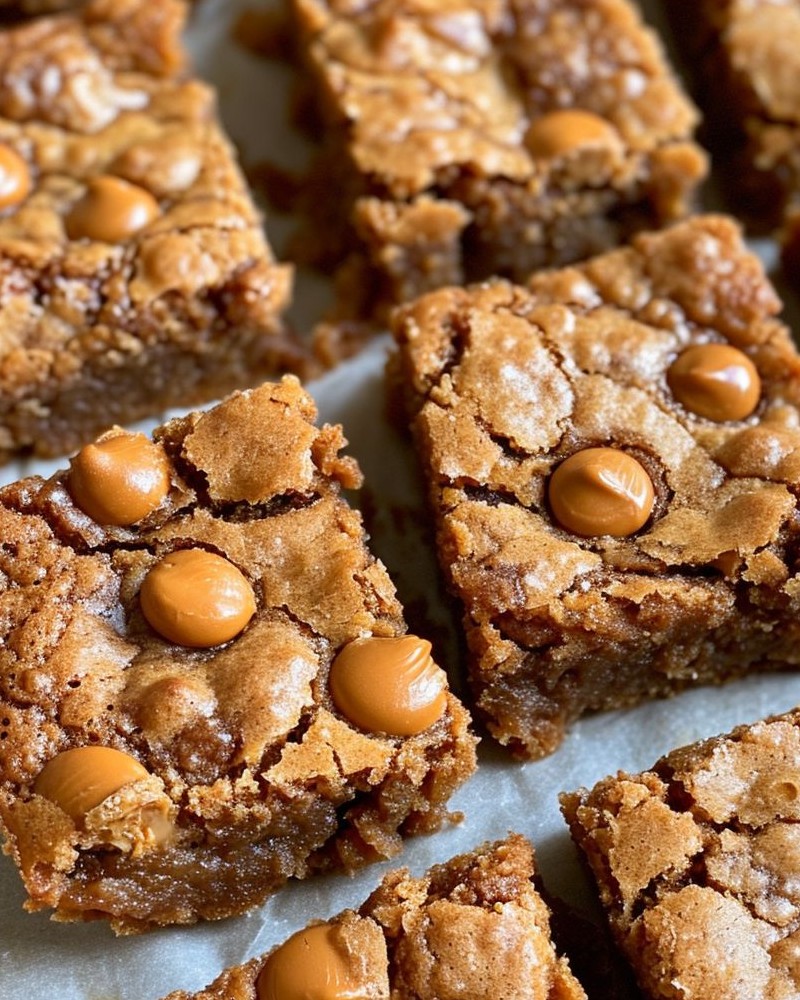
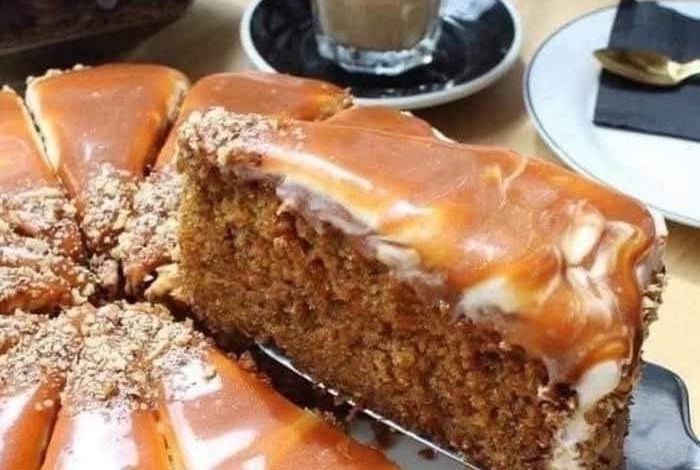
Caramel drizzle cake is the ultimate dessert for those who enjoy rich, moist cakes with a luxurious caramel finish.
This masterpiece combines a tender, spiced cake base with layers of cream cheese frosting and a golden caramel topping that melts in your mouth.
Perfect for celebrations, coffee breaks, or simply satisfying your sweet cravings, this cake is as stunning as it is delicious.
Let’s dive into this recipe to create a dessert that will wow everyone at the table.
Ingredients
For the Cake:
2 1/2 cups (315g) all-purpose flour
ADVERTISEMENT
1 1/2 teaspoons baking powder
1 teaspoon baking soda
1 teaspoon ground cinnamon
1/2 teaspoon ground nutmeg
1/2 teaspoon salt
ADVERTISEMENT
1 cup (200g) granulated sugar
1 cup (200g) brown sugar
3 large eggs
1 cup (240ml) vegetable oil
1 cup (240ml) buttermilk
ADVERTISEMENT
2 teaspoons vanilla extract
1/2 cup (100g) crushed nuts (optional)
For the Cream Cheese Frosting:
8 oz (225g) cream cheese, softened
1/2 cup (115g) unsalted butter, softened
2 cups (240g) powdered sugar
ADVERTISEMENT
1 teaspoon vanilla extract
For the Caramel Sauce:
1 cup (200g) granulated sugar
1/2 cup (120ml) heavy cream
1/4 cup (60g) unsalted butter
1/2 teaspoon vanilla extract
A pinch of salt
Instructions
Preparing the Cake
Preheat the Oven: Preheat your oven to 350°F (175°C). Grease and line two 9-inch round cake pans with parchment paper.
Mix the Dry Ingredients: In a large bowl, sift together the flour, baking powder, baking soda, cinnamon, nutmeg, and salt. Set aside.
Combine Wet Ingredients: In another large bowl, beat the eggs, granulated sugar, and brown sugar until creamy. Add the vegetable oil, buttermilk, and vanilla extract, and mix until smooth.
ADVERTISEMENT
Combine Wet and Dry Ingredients: Gradually fold the dry ingredients into the wet mixture, stirring until just combined. If using, fold in the crushed nuts for added texture.
Bake: Divide the batter evenly between the prepared pans. Bake for 25–30 minutes, or until a toothpick inserted into the center comes out clean.
Cool the Cakes: Allow the cakes to cool in the pans for 10 minutes before transferring them to a wire rack to cool completely.
Preparing the Frosting
Make the Cream Cheese Frosting: In a mixing bowl, beat the cream cheese and butter until smooth. Gradually add the powdered sugar and vanilla extract, mixing until creamy and fluffy. Set aside.
Preparing the Caramel Sauce
Melt the Sugar: In a medium saucepan over medium heat, melt the sugar, stirring constantly until it turns golden brown. Be patient and avoid burning.
Add Cream and Butter: Slowly whisk in the heavy cream and butter. The mixture will bubble vigorously, so be cautious. Stir until smooth, then mix in the vanilla extract and salt. Let the caramel cool slightly.
Assembling the Cake
Frost the Cake: Place one cake layer on a serving plate. Spread a thick layer of cream cheese frosting over the top. Place the second layer on top and frost the top and sides of the cake evenly.
Drizzle with Caramel: Pour the cooled caramel sauce over the frosted cake, allowing it to drip down the sides for a dramatic effect. Use a spatula to spread it if necessary.
Decorate: Sprinkle crushed nuts or a light dusting of cinnamon on top for a decorative finish, if desired.
Serving Suggestions
Slice the caramel drizzle cake into generous portions and serve with a cup of coffee, tea, or a glass of cold milk.
This cake pairs beautifully with its sweet, creamy, and slightly spiced flavors, making it ideal for any occasion.
Conclusion
Caramel drizzle cake is the epitome of indulgence, offering a harmonious blend of moist cake layers, tangy cream cheese frosting, and gooey caramel sauce.
Whether served at a celebration or as a weekend treat, this dessert is guaranteed to impress and satisfy. Try this recipe, and enjoy a cake that’s as stunning as it is delicious!